The Raspberry Pi is a versatile tool prized by tech-savvy individuals around the globe. Among its myriad applications, setting it up as a VPN server is a popular and beneficial choice. Whether you’re aiming to secure your online privacy or access your home network from afar, transforming your Raspberry Pi into a VPN server offers numerous benefits. This guide will take you step-by-step through the process, ensuring even those new to this technology can follow along with ease.
Why Choose a Raspberry Pi for Your VPN Server?
Raspberry Pi is small, affordable, and powerful enough to serve as a dedicated VPN server. More importantly, it provides an opportunity to learn more about networking and cybersecurity in a hands-on manner. Here are a few reasons why Raspberry Pi is an excellent choice for this task:
- Cost-effective: With Raspberry Pi’s low cost, it’s much cheaper than most commercial VPN services.
- Energy-efficient: It consumes less power than a standard computer, making it ideal for continuous operation.
- Personalized control: You can manage your network’s security configurations and ensure your data remains private.
Getting Started: What You Need
Before delving into the setup process, it’s crucial to gather the necessary components and software. Here’s a checklist to help you prepare:

Smart Advice:
Catch every touchdown, goal, or slam dunk with IPTV for sports lovers, built for non-stop sports excitement.
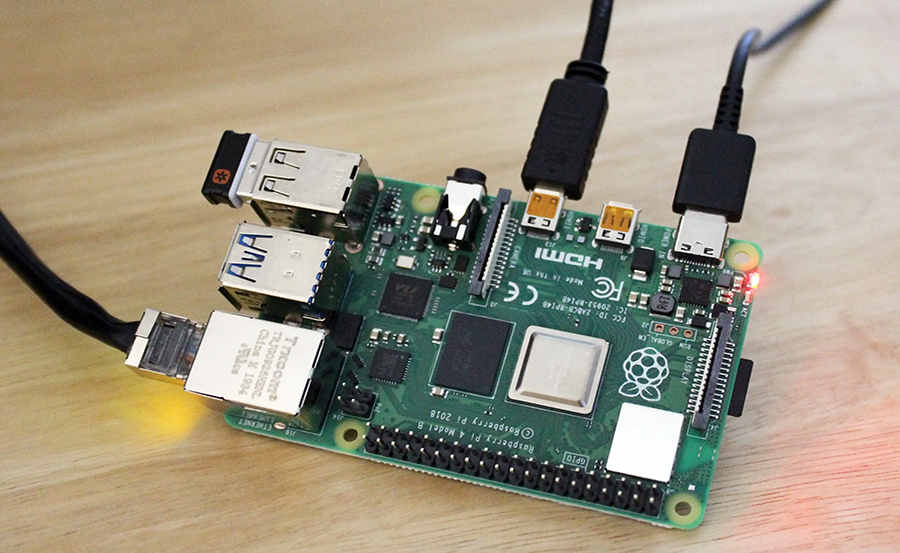
- A Raspberry Pi (3B+ or newer recommended)
- MicroSD card (minimum 8GB)
- Raspberry Pi power supply
- Ethernet cable for stable internet connection
- Computer with card reader and internet access
Installing the Operating System
Once you’ve gathered your materials, the next step is to install the operating system on your Raspberry Pi. We recommend using Raspberry Pi OS due to its compatibility and extensive community support.
Step 1: Download Raspberry Pi Imager
Start by downloading the Raspberry Pi Imager from their official website. Install it on your computer, and insert your microSD card into the computer’s reader.
Step 2: Configure and Install the OS
Launch the Raspberry Pi Imager and select the Raspberry Pi OS. Click on the storage device option to choose your microSD card. Hit “Write” to start installing the OS onto the card. Once the process is complete, safely eject the card and insert it into your Raspberry Pi.
Setting Up the VPN Server
Now, with Raspberry Pi OS installed, it’s time to transform your device into a VPN server. This involves setting up OpenVPN, a robust and widely used VPN software.
Step 3: Update Your System
Before installing any software, ensure your Raspberry Pi’s packages are up to date. Connect your Raspberry Pi to the internet using an Ethernet cable and run these commands:
sudo apt-get update
sudo apt-get upgrade
Step 4: Install OpenVPN
Once your system is up-to-date, proceed to install OpenVPN. Enter the following commands in the terminal:
sudo apt-get install openvpn
sudo apt-get install easy-rsa
Configuring Your VPN
With OpenVPN installed, it’s time to configure it. This step involves setting up network parameters and generating security keys.
Step 5: Set Up Easy-RSA
Easy-RSA is used to set up a public key infrastructure (PKI) and create security keys. Navigate to the Easy-RSA directory:
cd /etc/openvpn/easy-rsa/
Then, initialize the PKI and build the Certificate Authority (CA):
sudo ./easyrsa init-pki
sudo ./easyrsa build-ca
Step 6: Generate Server Keys
Create a server key that will be used to encrypt VPN traffic:
sudo ./easyrsa build-server-full server nopass
Next, generate the Diffie-Hellman parameters:
sudo ./easyrsa gen-dh
Testing Your VPN Server
With your server and keys configured, it’s crucial to perform a test to ensure everything is working correctly.
Step 7: Start OpenVPN
Initialize the OpenVPN service with the command:
sudo systemctl start openvpn@server
To ensure it runs at startup, enable the service:
sudo systemctl enable openvpn@server
Step 8: Verify the Connection
Try connecting to your VPN from an external network using a device configured with the client keys. Successful connection indicates your setup is functional.
Exploring Streaming TV Apps on Your VPN
One of the exciting advantages of using your Raspberry Pi as a VPN server is the ability to access streaming TV apps securely. This is particularly useful if you are traveling or residing in areas with restricted access to your favorite content.
By routing your connection through your home VPN, you can appear virtually anywhere in the world, giving you the freedom to explore the best in IPTV entertainment.
Optimizing Your VPN for Streaming
To get the most out of your VPN for streaming purposes, consider the following tips:
- Choose the Right Server Location: Select a server location that aligns best with the content you wish to access.
- Ensure High Bandwidth: For smooth streaming experiences, double-check your internet speed meets the demands of streaming high-quality content.
IPTV Service Provider Comparison
Selecting the right IPTV service provider is key to an enhanced viewing experience. Compare providers based on:
- Content library diversity
- Cost-effectiveness
- Device compatibility
A Few Words before Diving In
Setting up a Raspberry Pi as a VPN server requires patience and attention to detail, but the payoff is substantial for those looking to manage their network security and enjoy seamless access to global content. Don’t rush the steps, double-check your configurations, and soon, you’ll have a personal VPN that enhances your online privacy and entertainment options.
Frequently Asked Questions

What is the primary benefit of using a Raspberry Pi as a VPN?
The main advantage is the control it offers over your privacy and security. A Raspberry Pi VPN is cost-effective and allows you to manage your own encryption settings without relying on third-party services.
How do I ensure my Raspberry Pi is secure when functioning as a VPN?
Regular updates and using strong authentication methods, such as certificates, fortify your Raspberry Pi VPN against potential threats.
Is streaming with a Raspberry Pi VPN slower compared to commercial solutions?
Speeds can be slightly reduced due to encryption. However, with a high-speed internet connection and careful configuration, most users will find performance satisfactory for streaming purposes.
Can I use my Raspberry Pi VPN on multiple devices simultaneously?
Yes, provided your Raspberry Pi has enough processing capabilities and your internet bandwidth supports multiple connections, you can configure it to handle several devices simultaneously.
How frequently should I back up my Raspberry Pi VPN configurations?
Periodically back up your configurations to avoid losing your key setups. This can be done monthly or after any major configuration changes.
What happens if I encounter issues during the setup?
Consult online forums and communities dedicated to Raspberry Pi and OpenVPN. The solutions available there are user-tested and highly effective.
Secure Streaming: Protecting Your Data on Enigma IPTV Device